Forward proxy_pass and add CORS headers in nginx
In the recent app that I develop, there is a situation like this: The API, created with Spring Boot . The Angular app calls the API but got a CORS error. I did a few searches online and found out that I need to add additional configuration in the code.
The problem is since I have a haproxy instance that does all the CORS things on the production server, adding the configuration to spring boot just for development doesn’t make much sense to me.
You may say, let’s use HAproxy on the development server. Well, that is a good option. However, setting up haproxy on Windows is not simple, and using Docker Desktop seems a bit overkill.
So, nginx is the most sensible choice.
And it turned out, it’s quite easy to setup with nginx too.
The flow
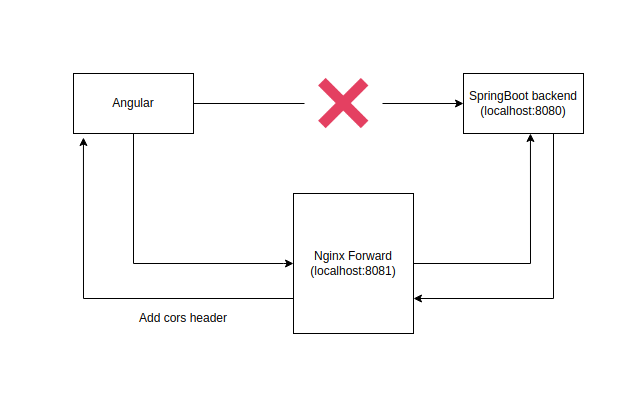
The request flow now becomes something like this. Instead of calling the API directly from the Angular app, we will call the Nginx proxy.
When the API returns, we add the CORS header so our browser will not complain about the missing headers.
The code
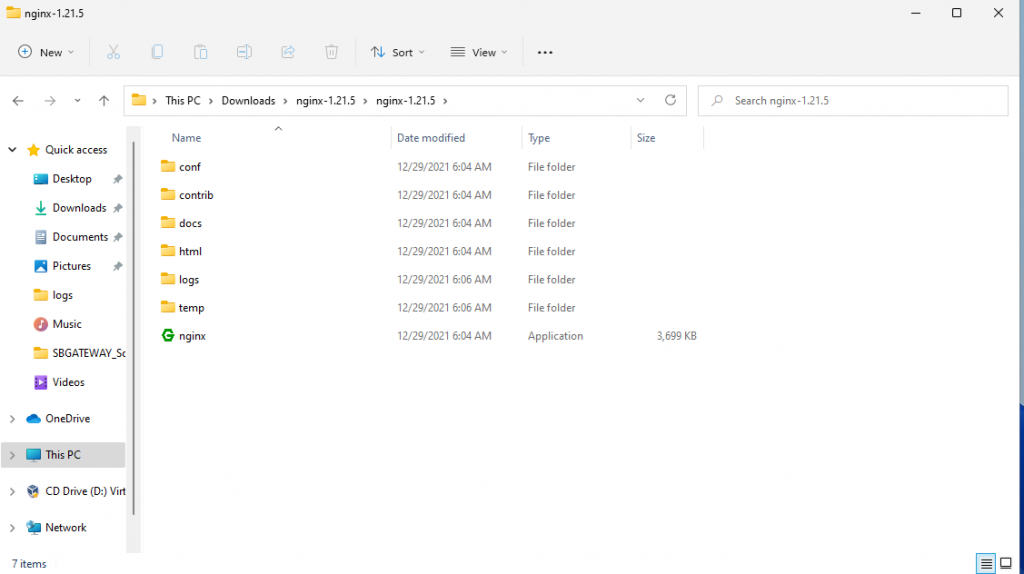
First, download Nginx here http://nginx.org/en/download.html and extract it somewhere on your Windows machine.
Now, open the conf folder and edit the file name nginx.conf then put the following content in:
#user  nobody;
worker_processes  1;

#error_log  logs/error.log;
#error_log  logs/error.log  notice;
#error_log  logs/error.log  info;

#pid        logs/nginx.pid;


events {
    worker_connections  1024;
}


http {
    include       mime.types;
    default_type  application/octet-stream;

    #log_format  main  '$remote_addr - $remote_user [$time_local] "$request" '
    #                  '$status $body_bytes_sent "$http_referer" '
    #                  '"$http_user_agent" "$http_x_forwarded_for"';

    #access_log  logs/access.log  main;

    sendfile        on;
    #tcp_nopush     on;

    #keepalive_timeout  0;
    keepalive_timeout  65;
  server {
      listen       8081;

      server_name  localhost;


      location / {
          add_header Content-Type text/plain;
          add_header 'Access-Control-Allow-Origin' '*'  always;
          add_header 'Access-Control-Max-Age' '3600'  always;
          add_header 'Access-Control-Allow-Methods' 'GET, POST, PUT, DELETE, OPTIONS' always;
          add_header 'Access-Control-Allow-Headers' '*' always;

          if ($request_method = OPTIONS ) {
              return 200;
          }

          proxy_set_header X-Real-IP $remote_addr;
          proxy_set_header Host $host;
          proxy_set_header X-Forwarded-For $proxy_add_x_forwarded_for;
          proxy_pass http://192.168.100.6:8080;
          proxy_pass_request_headers      on;
      }


  }

}
And that’s all you need to code. Click on the nginx.exe file to see all the requests flow through and the CORS headers are added to the response.
A note for docker users
If you prefer to use docker, the implementation could be a bit different:
- Put the content below in
/etc/nginx/conf.d/default.conf - You probably want to set the port number at the line #2 to 80 since it’s an nginx container we are running. You also need to map port 8081 to 80 of the container.
- The URL at the line #21 also need to change. When running in docker image, localhost is not your localhost anymore. You may need to put the IP of your pc here to make it works.
server {
    listen       80;

    server_name  localhost;


    location / {
        add_header Content-Type text/plain;
        add_header 'Access-Control-Allow-Origin' '*'  always;
        add_header 'Access-Control-Max-Age' '3600'  always;
        add_header 'Access-Control-Allow-Methods' 'GET, POST, PUT, DELETE, OPTIONS' always;
        add_header 'Access-Control-Allow-Headers' '*' always;

        if ($request_method = OPTIONS ) {
            return 200;
        }

        proxy_set_header X-Real-IP $remote_addr;
        proxy_set_header Host $host;
        proxy_set_header X-Forwarded-For $proxy_add_x_forwarded_for;
        proxy_pass http://192.168.100.6:8080;
        proxy_pass_request_headers      on;
    }


}