
Table of Contents
Overview
With the help of docker, it is simple to get an ActiveMQ container up and running. In this post, I’ll show you how to set up ActiveMQ so you can use it for other services to publish and subscribe to messages. In addition, I’ll show you how to monitor the ActiveMQ application using the web console.
Let’s get started.
Create ActiveMQ with Docker
You can create an instance of ActiveMQ using this command:
docker run -p 61616:61616 -p 8161:8161 codingpuss/activemq:5.17.2-jre-19-alpine
Here, I exposed two ports: 8161 for web admin and 61616 for applications to publish and subscribe to. I also use the latest version of ActiveMQ at the moment.
If you prefer to use docker-compose, you can use this template:
version: '3'

services:
  activemq:
    container_name: activemq
    image: codingpuss/activemq:5.17.2-jre-19-alpine
    ports:
      - 8161:8161
      - 61616:61616
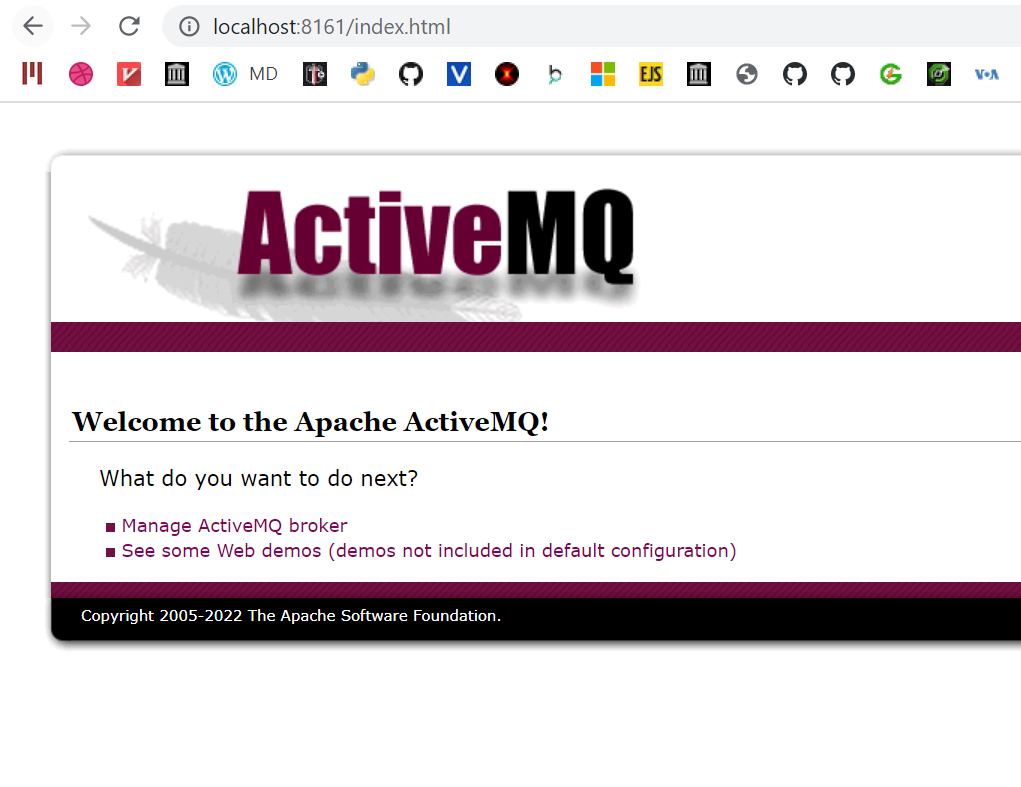
After a few seconds, you can access the web admin at HTTP://localhost:8161
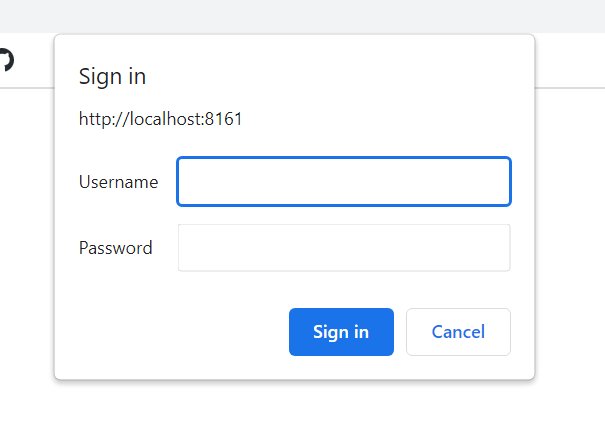
Enter admin/admin to login into the web console:
Congratulations! You’ve successfully set up ActiveMQ. Now, you are ready to send some messages!

I build softwares that solve problems. I also love writing/documenting things I learn/want to learn.