Overview
In this post, I will walk you through the setup of your environment and data so you can start quickly.
As in the series introduction, I said that we will use PostgreSQL. The quickest way to set up a PostgreSQL database instance is by using docker-compose.
Setting up PostgreSQL using docker-compose
You can use the following code to setup pgadmin and PostgreSQL:
version: '3.8'

services:
  postgres:
    container_name: postgres_db
    image: postgres:13.6-alpine
    environment:
      POSTGRES_PASSWORD: root
      POSTGRES_USER: root
      POSTGRES_DB: learn_sql

    volumes:
       - postgres:/data/postgres
    restart: always

  pgadmin:
    container_name: pgadmin
    image: dpage/pgadmin4:6.2
    environment:
      PGADMIN_DEFAULT_EMAIL: [email protected]
      PGADMIN_DEFAULT_PASSWORD: root
    volumes:
       - pgadmin:/var/lib/pgadmin
    ports:
      - "38081:80"
    depends_on:
      - postgres
    restart: always

volumes:
    postgres:
    pgadmin:
Here I set up both PostgreSQL and pgadmin in one script. As you can see, I don’t need to export port 5432 for the PostgreSQL container since I will only interact with PostgreSQL through pgadmin. If you want to use other clients (dBeaver for example), feel free to expose a port to connect.
Now, you can go to your command line and run:
docker-compose up -d
After a minute, you can open your browser to access pgadmin:
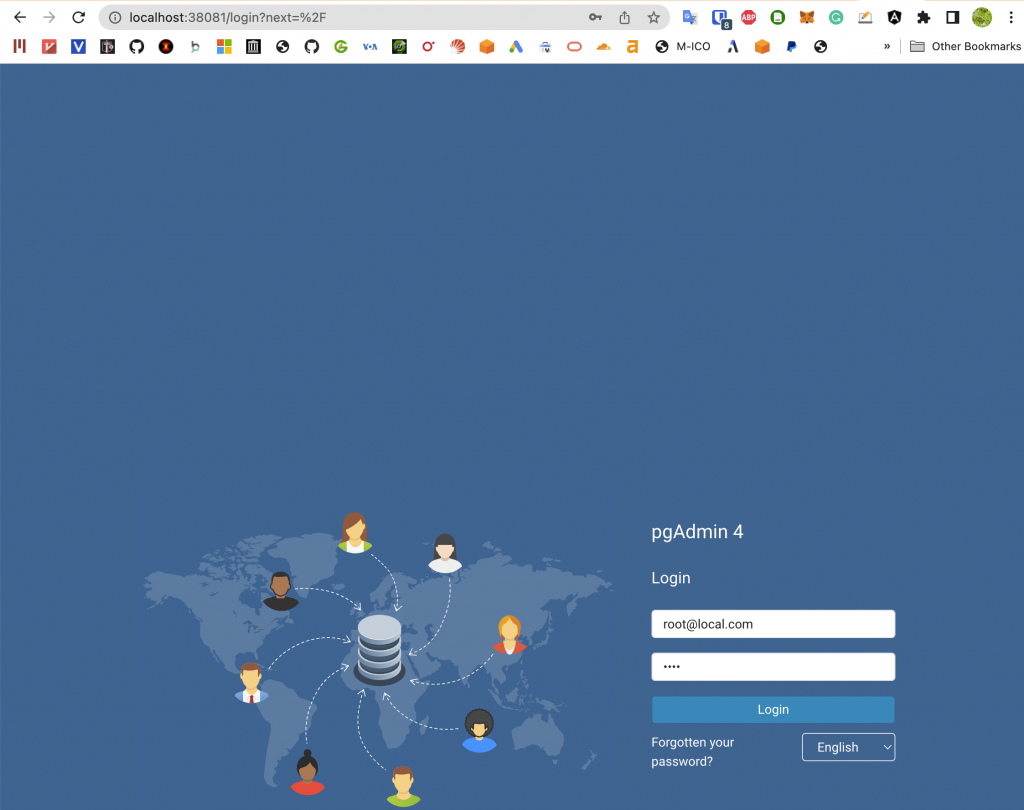
If you use my docker-compose yaml above, the login is [email protected] and the password is root
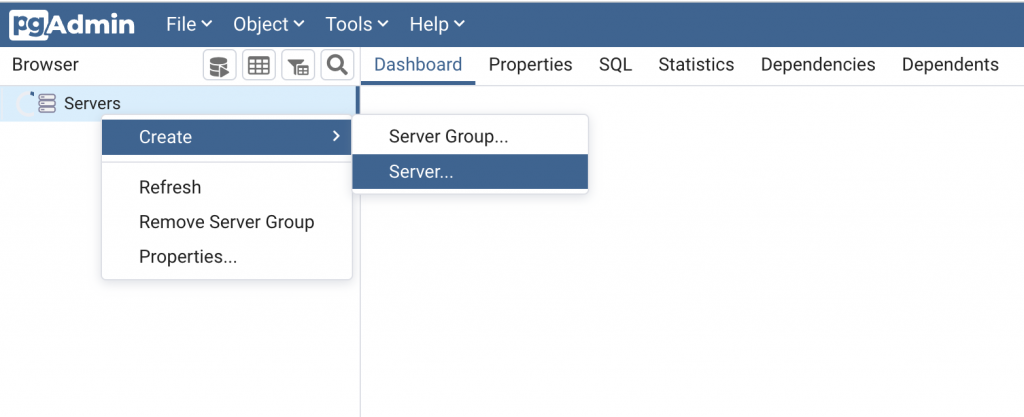
When you are logged in, right click on Servers to add a new server:
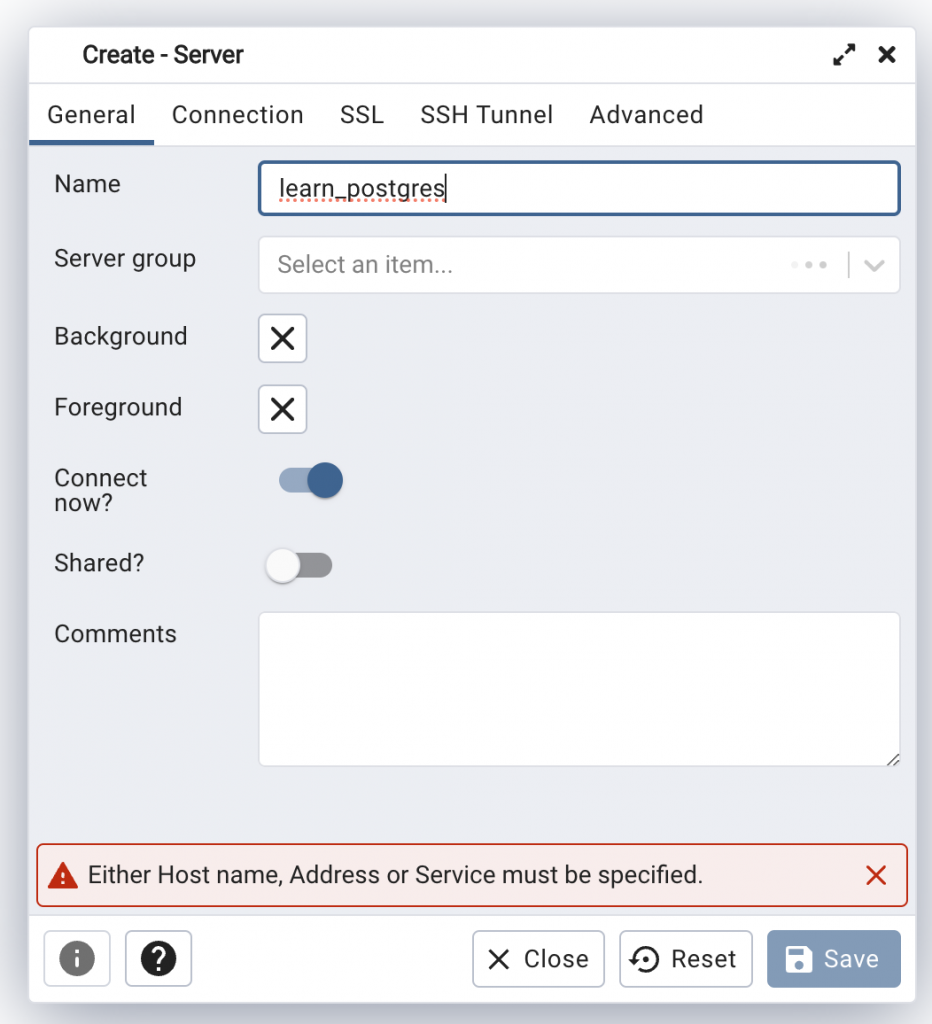
Then switch to the Connection tab and set the connection details:
If you follow the configurations of the above yaml file, the details is as below:
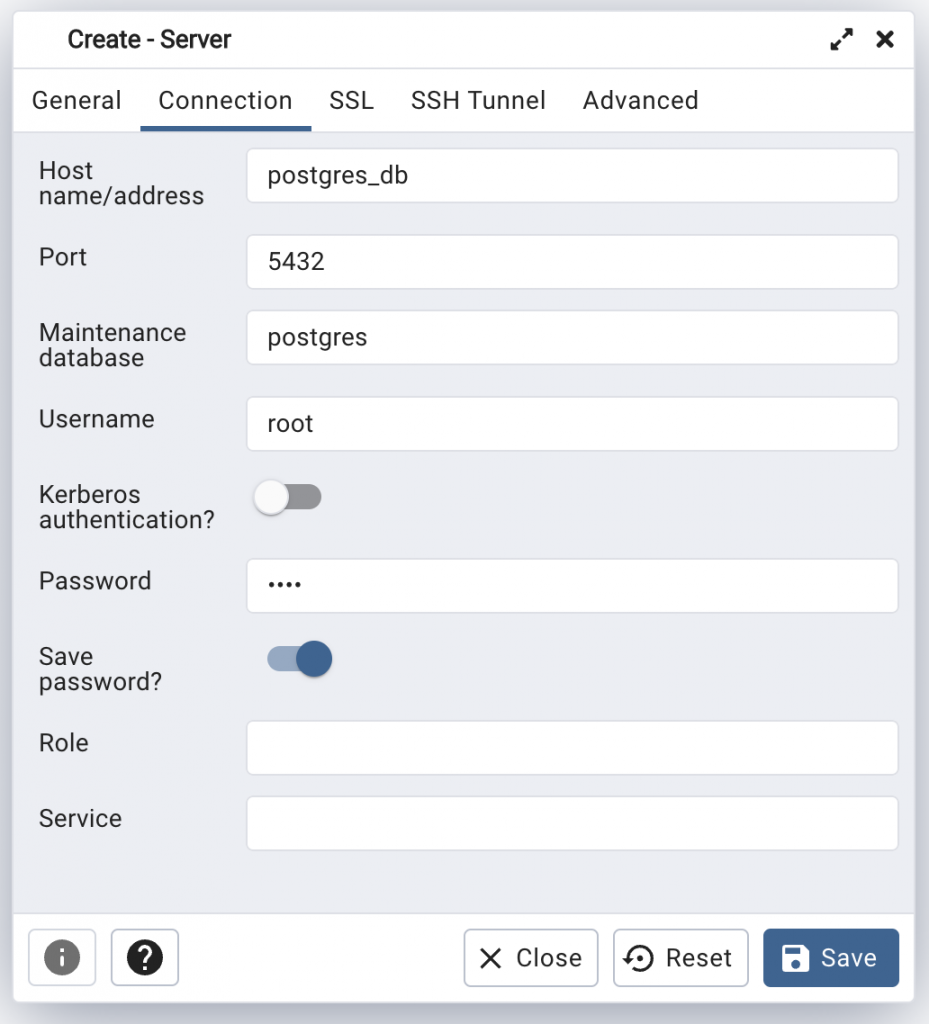
The password is obviously root
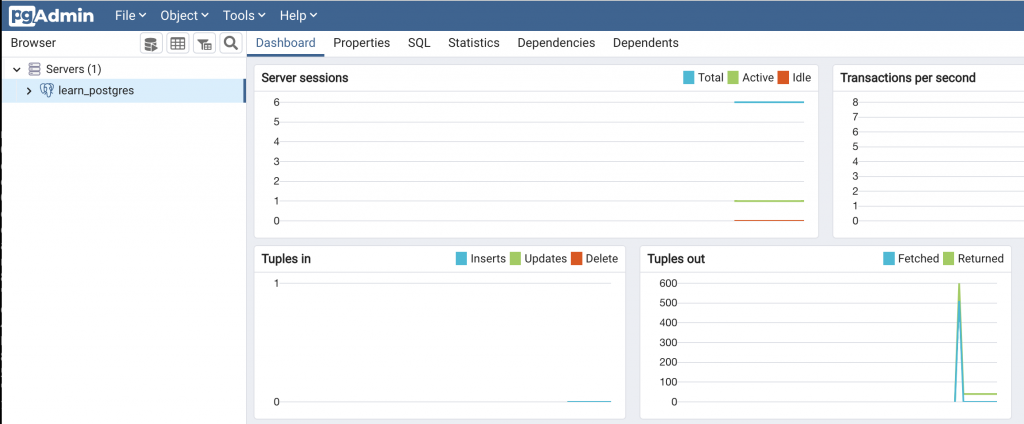
Click on Save and your database is ready to serve:
Mock data
Through this series, I’m going to use the following data. You can copy the code and run them in the order they appear on this page:
-- Create a table for customers
CREATE TABLE customers (
    customer_id SERIAL PRIMARY KEY,
    first_name VARCHAR(50),
    last_name VARCHAR(50),
    email VARCHAR(100),
    phone VARCHAR(20)
);

-- Insert some data into the customers table
INSERT INTO customers (first_name, last_name, email, phone) VALUES
('John', 'Doe', '[email protected]', '555-1234'),
('Jane', 'Doe', '[email protected]', '555-5678'),
('Bob', 'Smith', '[email protected]', '555-9012'),
('Alice', 'Jones', '[email protected]', '555-3456'),
('Tom', 'Brown', '[email protected]', '555-7890');

-- Create a table for orders
CREATE TABLE orders (
    order_id SERIAL PRIMARY KEY,
    order_date DATE,
    customer_id INT REFERENCES customers(customer_id)
);

-- Insert some data into the orders table
INSERT INTO orders (order_date, customer_id) VALUES
('2022-01-01', 1),
('2022-01-02', 2),
('2022-01-03', 3),
('2022-01-04', 4),
('2022-01-05', 5);

-- Create a table for order items
CREATE TABLE order_items (
    order_item_id SERIAL PRIMARY KEY,
    order_id INT REFERENCES orders(order_id),
    product_name VARCHAR(100),
    price NUMERIC(10,2),
    quantity INT
);

-- Insert some data into the order_items table
INSERT INTO order_items (order_id, product_name, price, quantity) VALUES
(1, 'Widget A', 9.99, 1),
(1, 'Widget B', 12.99, 2),
(2, 'Widget C', 7.99, 3),
(3, 'Widget D', 5.99, 4),
(4, 'Widget E', 14.99, 1),
(4, 'Widget F', 19.99, 2),
(4, 'Widget G', 4.99, 3),
(5, 'Widget H', 11.99, 4);

-- Let's add even more data:
-- Insert data into the customers table
INSERT INTO customers (first_name, last_name, email, phone)
VALUES
    ('John', 'Doe', '[email protected]', '555-1234'),
    ('Jane', 'Smith', '[email protected]', '555-5678'),
    ('Bob', 'Johnson', '[email protected]', '555-9012'),
    ('Mary', 'Smith', '[email protected]', '555-3456'),
    ('Tom', 'Smith', '[email protected]', '555-7890'),
    ('Jim', 'Brown', '[email protected]', '555-2345'),
    ('Ann', 'Davis', '[email protected]', '555-6789'),
    ('Susan', 'Jones', '[email protected]', '555-0123'),
    ('David', 'Smith', '[email protected]', '555-4567'),
    ('Karen', 'Williams', '[email protected]', '555-8901');

-- Insert data into the orders table
INSERT INTO orders (order_date, customer_id)
VALUES
    ('2022-01-01', 1),
    ('2022-01-01', 2),
    ('2022-01-02', 3),
    ('2022-01-02', 4),
    ('2022-01-02', 5),
    ('2022-01-03', 6),
    ('2022-01-03', 7),
    ('2022-01-03', 8),
    ('2022-01-04', 9),
    ('2022-01-05', 10),
    ('2022-01-05', 1),
    ('2022-01-06', 2),
    ('2022-01-06', 3),
    ('2022-01-07', 4),
    ('2022-01-08', 5);

-- Insert data into the order_items table
INSERT INTO order_items (order_id, product_name, price, quantity)
VALUES
    (1, 'Widget A', 10.99, 2),
    (1, 'Widget B', 19.99, 1),
    (2, 'Widget C', 9.99, 3),
    (3, 'Widget D', 5.99, 2),
    (3, 'Widget E', 8.99, 1),
    (4, 'Widget F', 29.99, 1),
    (4, 'Widget G', 15.99, 2),
    (5, 'Widget H', 12.99, 3),
    (6, 'Widget I', 9.99, 1),
    (7, 'Widget J', 19.99, 2),
    (8, 'Widget K', 14.99, 2),
    (9, 'Widget L', 8.99, 3),
    (10, 'Widget M', 11.99, 1),
    (11, 'Widget N', 6.99, 4),
    (12, 'Widget O', 24.99, 1),
    (13, 'Widget P', 16.99, 2),
    (14, 'Widget Q', 8.99, 3),
    (15, 'Widget R', 12.99,3);
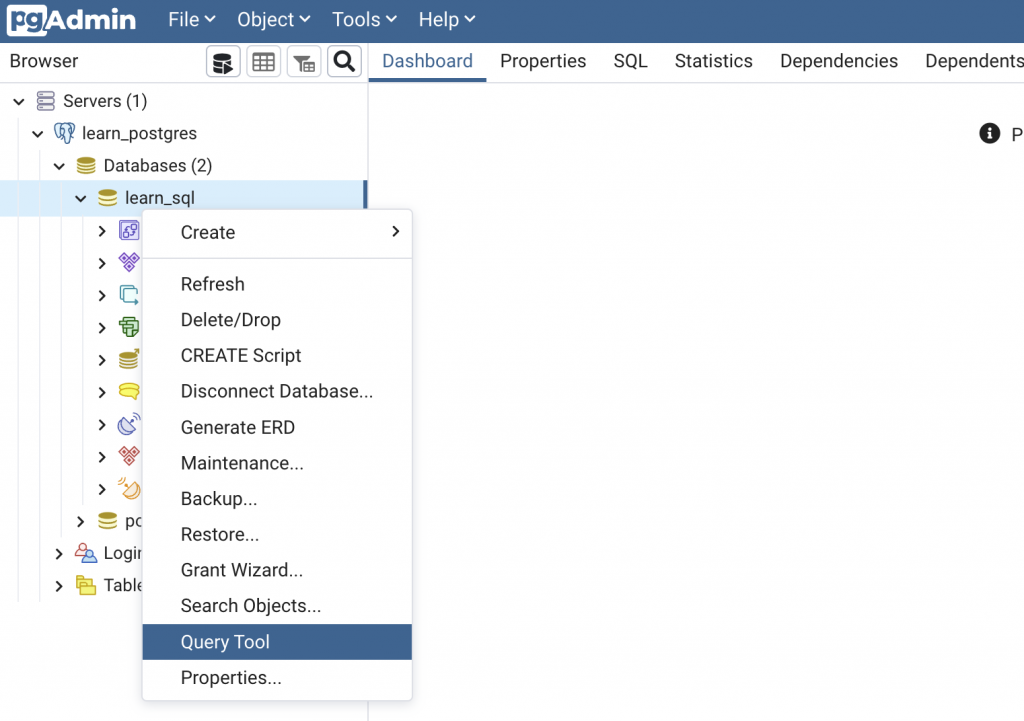
This is the sample database of a shopping site. To run these SQL queries, right click on the database name “learn_sql” and click on Query Tool
Then, you can paste the queries above and run:
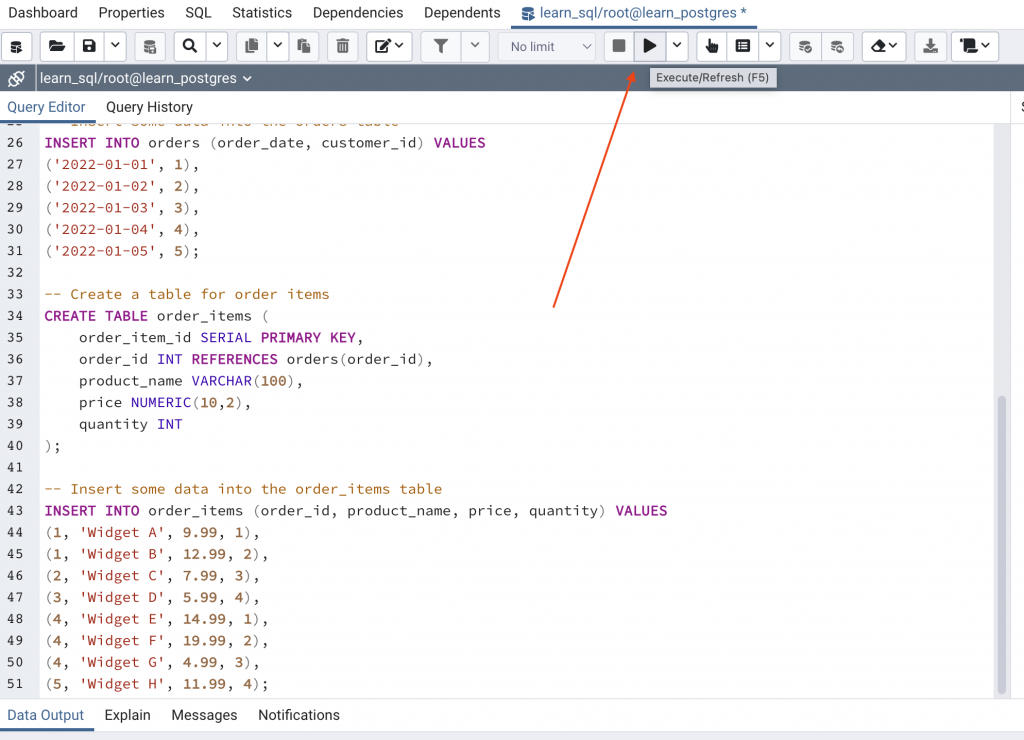
After clicking Execute/Refresh button, you should see the notification saying the execution was successful.
If you expand Schema->Public->Tables, the tables are there:
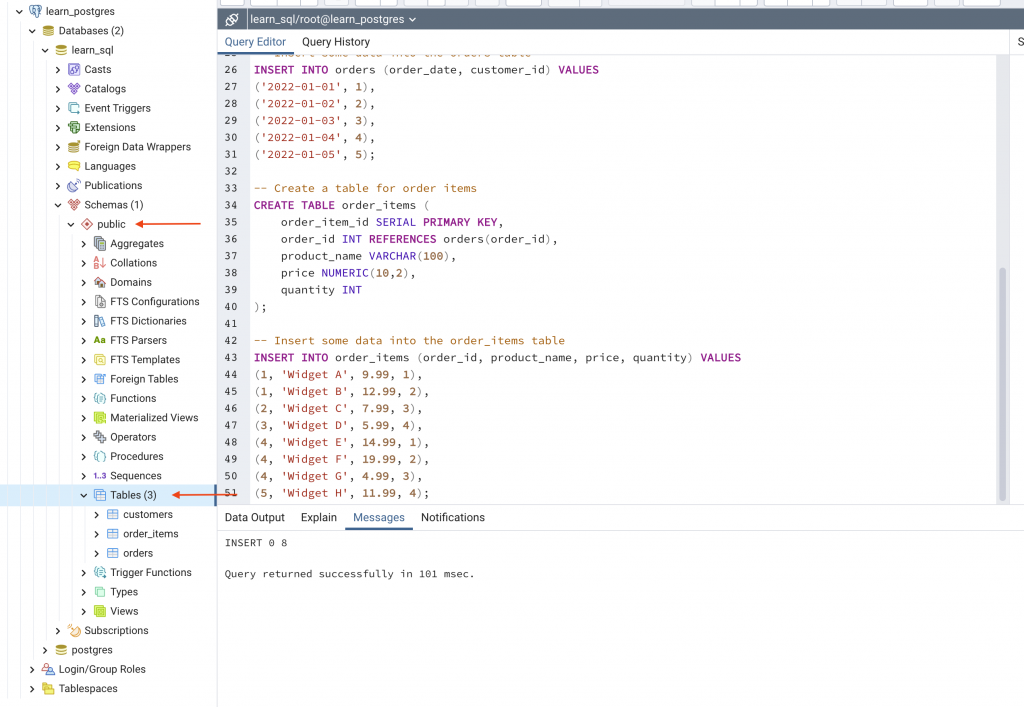
That’s it! You are now ready to learn the basics of SQL with PostgreSQL.
Conclusion
In this post, I’ve shown you how to quickly set up PostgreSQL and pgAdmin. In the next post, I’m going to show you how to perform queries to select the right data you need.

I build softwares that solve problems. I also love writing/documenting things I learn/want to learn.