Table of Contents
In this tutorial, I’m going to create a simple WebSocket server with Java EE that I can use Javascript Websocket API to connect and send/receive messages.
I’m going to use Eclipse as the IDE. You can try with another IDE/text editor. However, I would recommend you use Eclipse since I didn’t have much luck with Intellij.
Let’s get started creating our Websocket server with Java EE.
Create a new project in Eclipse
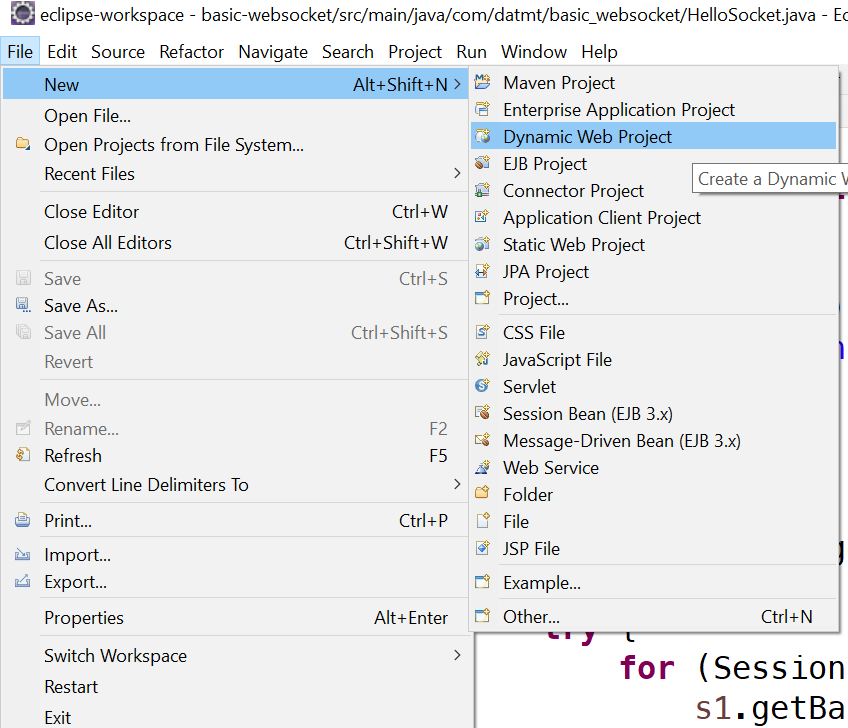
Let’s start by creating a new Dynamic web project in Eclipse:
On the next screen, you will need to enter the project name:
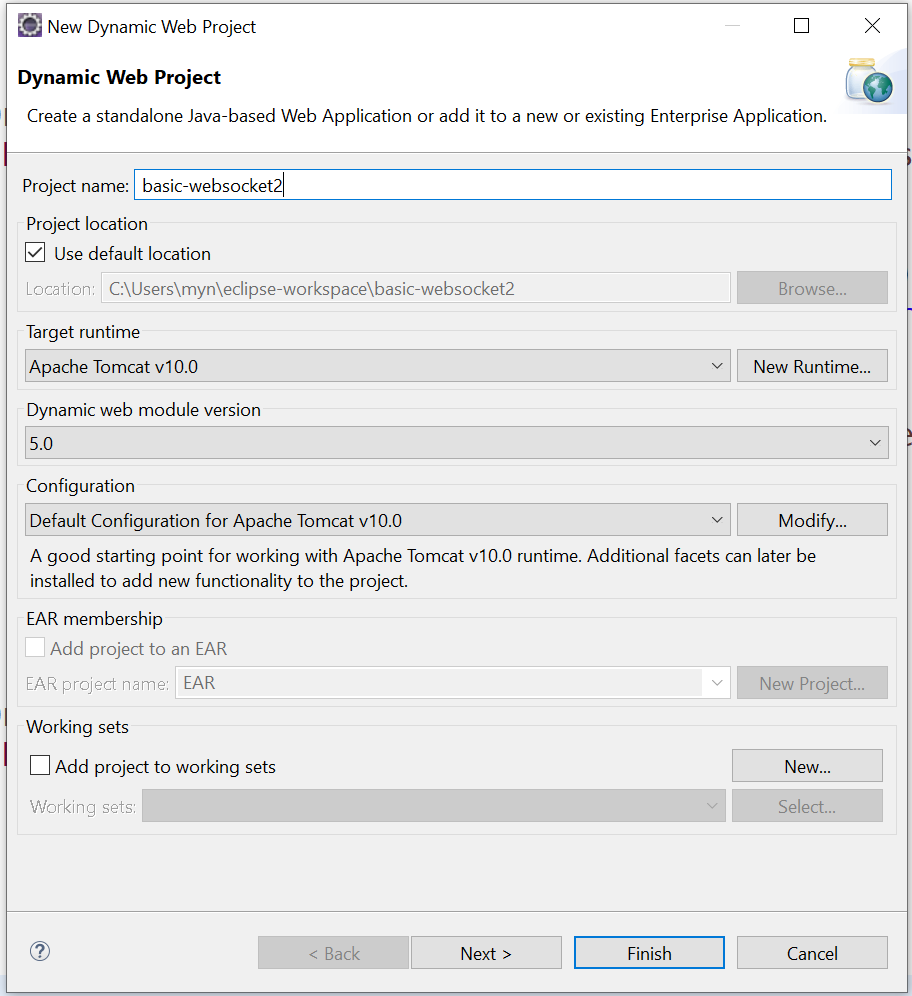
At this step, other than entering the project name, you need to pay attention to the target runtime field.
If you see the target runtime field empty, you should follow the instructions to set up a Apache Tomcat server here.
Click on Finish, you are now ready to code the application logic.
Implementing the Websocket server
The Websocket server we are implementing is quite simple. Actually, there is only one class file needed:
package com.datmt.basic_websocket;

import java.io.IOException;
import java.util.logging.Logger;

import jakarta.websocket.OnClose;
import jakarta.websocket.OnMessage;
import jakarta.websocket.OnOpen;
import jakarta.websocket.Session;
import jakarta.websocket.server.ServerEndpoint;

@ServerEndpoint("/hello-socket")
public class HelloSocket {


	private static final Logger LOG = Logger.getLogger(HelloSocket.class.getName());

	@OnOpen
	public void onOpen() {
		LOG.info("Opening the socket server");
	}


	@OnMessage
	public void onMessage2(Session session, String message) {

		try {
			for (Session s1: session.getOpenSessions()) {
				s1.getBasicRemote().sendText("From server: you said: " + message);
			}
		} catch (IOException ex) {
			LOG.warning("Something bad happened: " + ex.getMessage());
		}

	}

	@OnClose
	public void onClose() {
		LOG.info("We are closed");
	}

}
As you can see from the code, first we defined an endpoint /hello-socket
Remember to add the forward slash. Without this, Tomcat will complain and will not start your service.
Inside the class, we created three methods to implement the WebSocket lifecycle:
- OnOpen: this method is called when a connection is opened
OnMessage: this method is called when there are incoming messagesOnClose: this method is called when a connection from a client is closed
Now the logic for the Websocket server is done, let’s run it.
Run the Websocket server from Eclipse
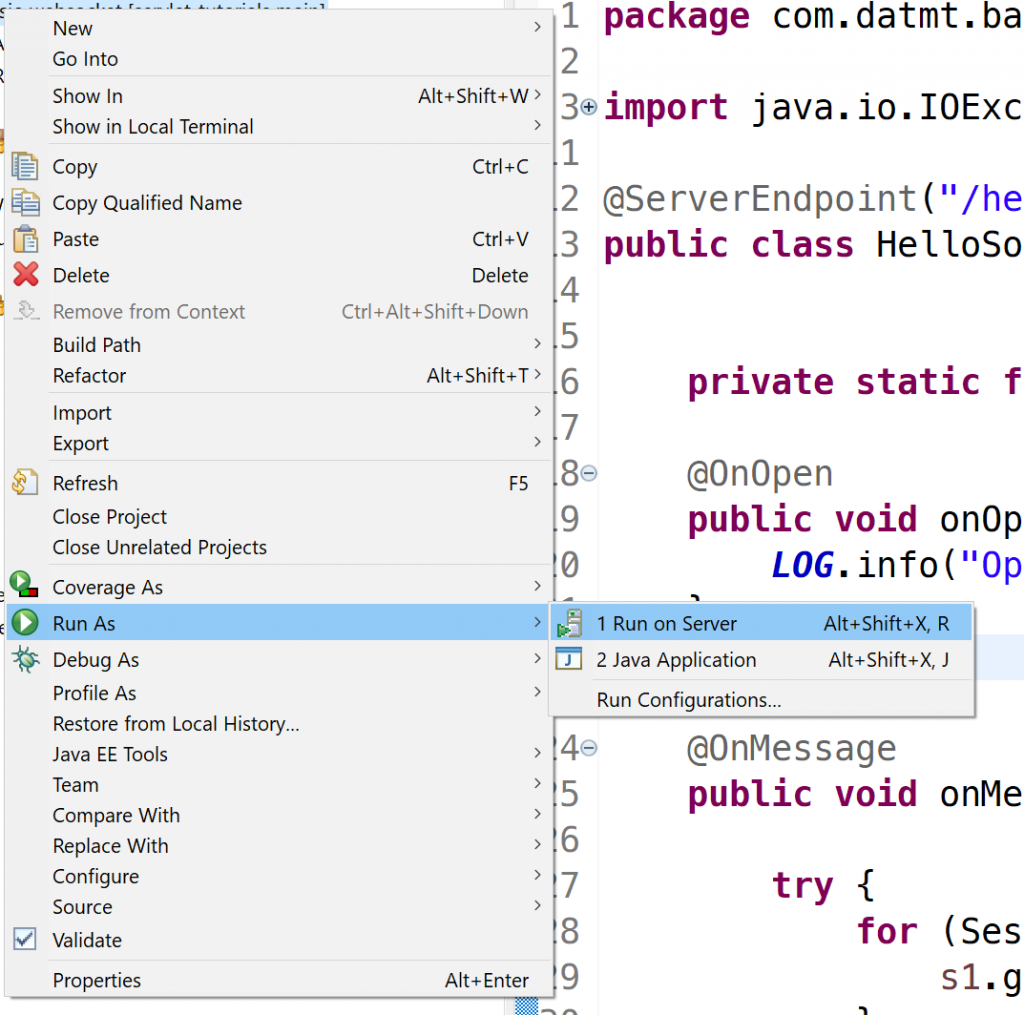
Since you are using Eclipse, you can run the server right from this IDE. Simply right-click on the project and select Run on server
Tomcat will run and depends on your configuration, your default browser may open with the root URL of the project:
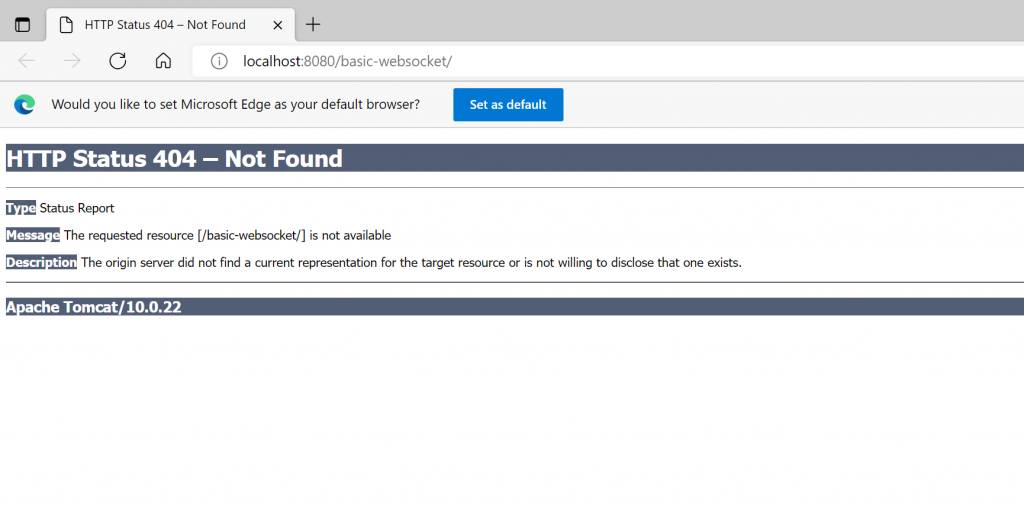
Since we didn’t configure any endpoint for the root URL, the page shows 404. This is expected.
Now to connect to the Websocket server, open the browser’s console and create a connection to the following URL:
ws://localhost:8080/basic-websocket/hello-socket

Now, if we look to the console in Eclipse, the following text appears:

This means the onOpen method was called.
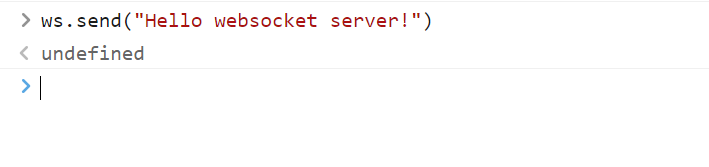
Now, we will send a message using the Websocket instance we’ve just created:
If you open the Network tab of the browser’s console now, you should see the server sends back a message:
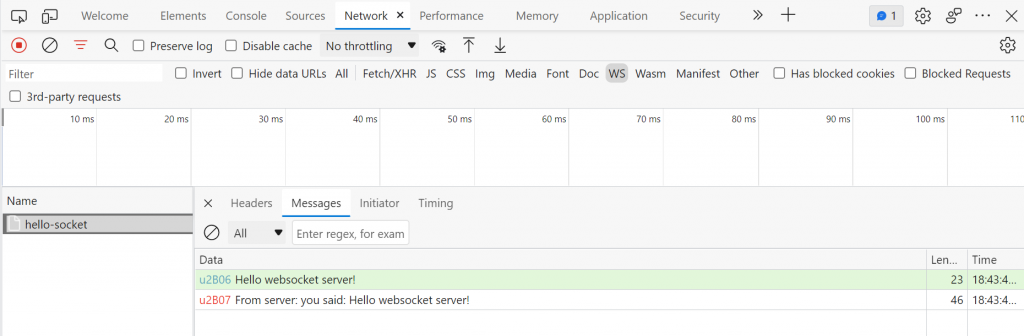
This is exactly what we implemented in the code.
Now, let’s close the connection to see if the onClose method is called.

As you can see in the server console, the onClose message displayed:

Conclusion
As you can see, implementing a WebSocket server using Java EE is quite simple. This is just a small demo. You can create many interesting applications using this technology.

I build softwares that solve problems. I also love writing/documenting things I learn/want to learn.