
Table of Contents
Overview
In this post, I’m going to show you how you can create your own private docker registry with Nexus3 OSS. This setup is ideal for small startups/indies who cannot afford dockerhub or quay.io subscriptions (or for some other reasons).
At the end of the post, you’ll know how to set up a registry to host your docker images so you can use it in your deployment process (think CI/CD).
Let’s get started.
Create Nexus3 OSS Deployment With Docker Compose
It’s quite simple to create a Nexus3 OSS deployment using docker-compose. All you need is this file:
version: '3'
services:
  nexus_oss:
    image: sonatype/nexus3:3.45.0
    container_name: nexus3
    ports:
      - 8084:8081
      - 19001:9001
    restart: always
    volumes:
      - nexus_data:/nexus-data
volumes:
  nexus_data:
Except for the ports section, other sections are quite straightforward. For the port mappings, port 8084 is mapped to 8081. This is the port you would type in your browser and login to manage your repositories.
For port 9001, it’s for docker client to communicate with the registry. For example, when you type docker login, you need to have this port open.
Choose the values 8084 and 19001 to your liking.
Simply run docker-compose up -d to start this.
Create a Docker registry in Nexus3 OSS
Nexus3 OSS takes a while to start. You can monitor the log to see when it’s online and ready:
When you see this line, it means the app is ready to use:

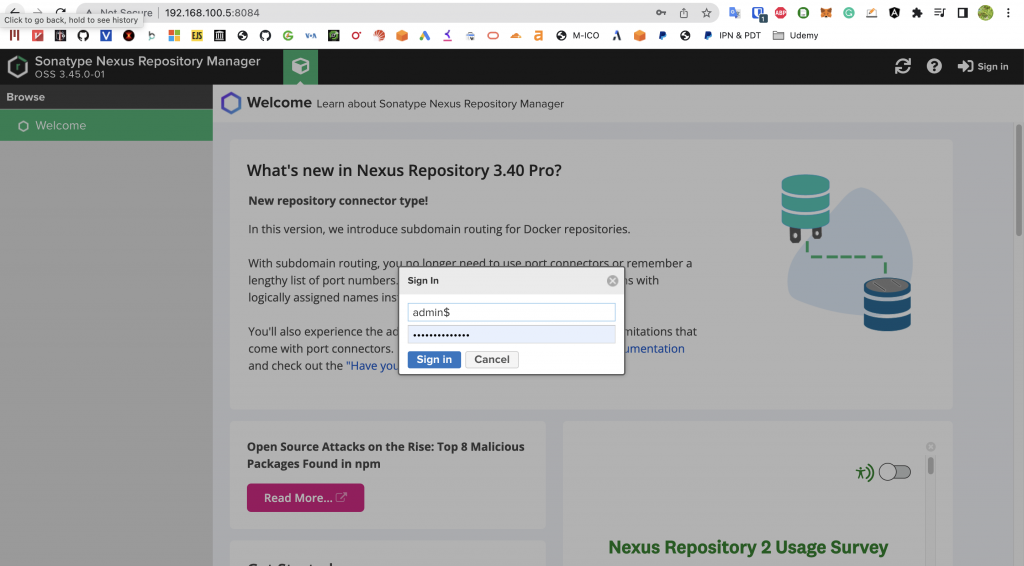
Before you can log in to the admin page, you need to get the password first. The auto-generated password is stored at /nexus-data/admin.password (you need to exec into the container to see this file).
To create a docker registry, following this screenshot:
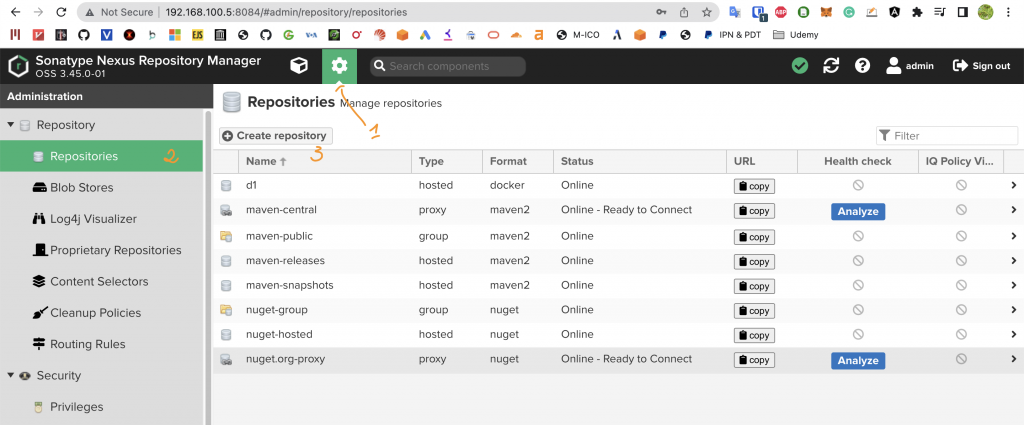
First, click on the gear icon, next, click on repositories and then click on “Create repository”.
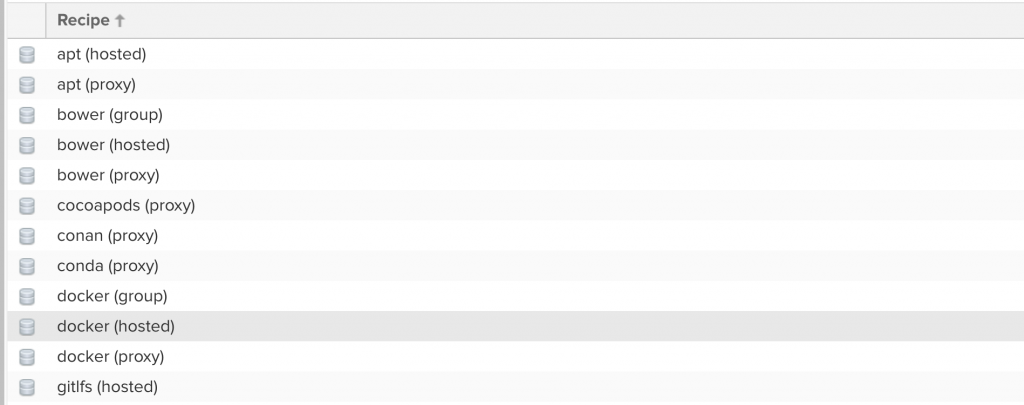
On the next screen, make sure you select docker(hosted):
On the next screen, there aren’t many things you need to configure. There are two important things:
- The registry name
- The HTTP port (remember the port mapping in the first section?)
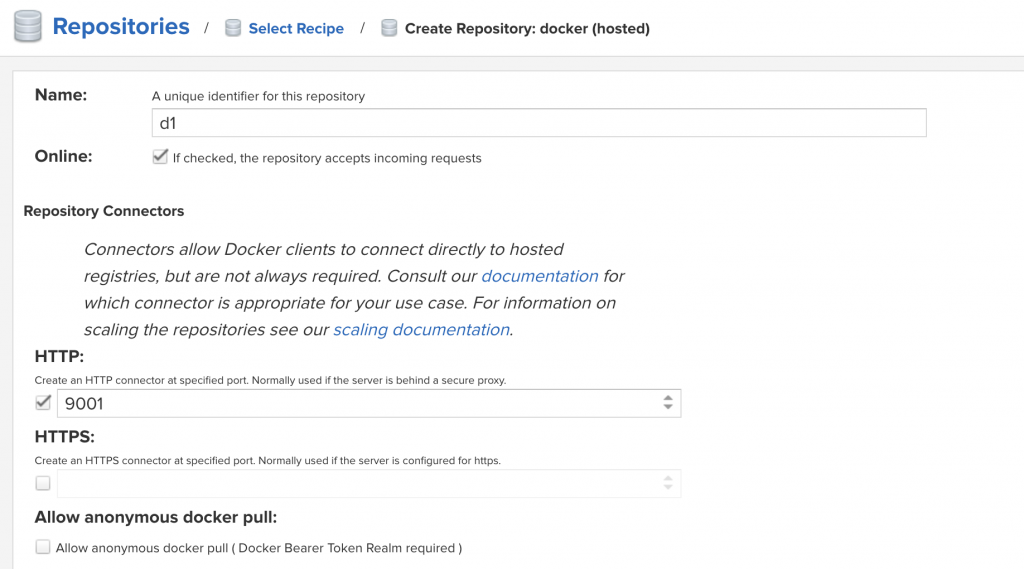
That’s all. Click save and now you have a fully functional docker registry.
Create a user
You can definitely use the admin user to log in to the docker registry. However, to use in CI/CD pipeline, it’s best to configure another user.
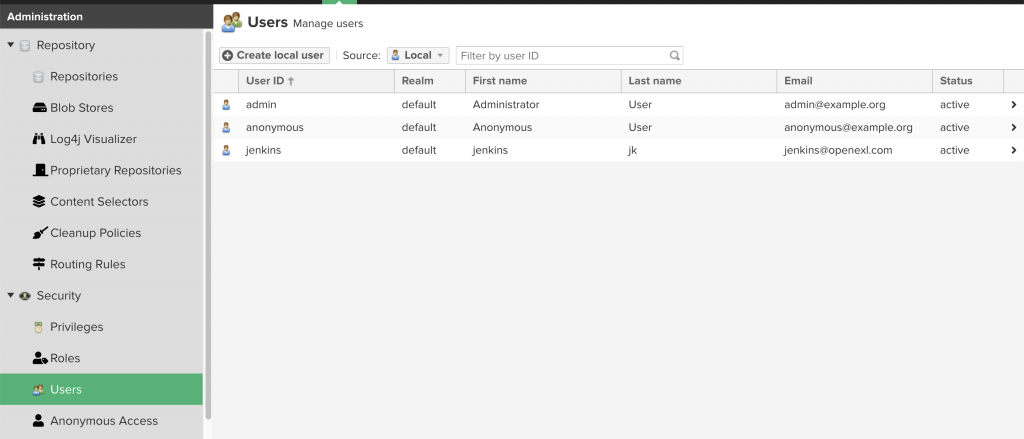
In this screen, I created a user called jenkins. I’m going to use this to log in to the registry.
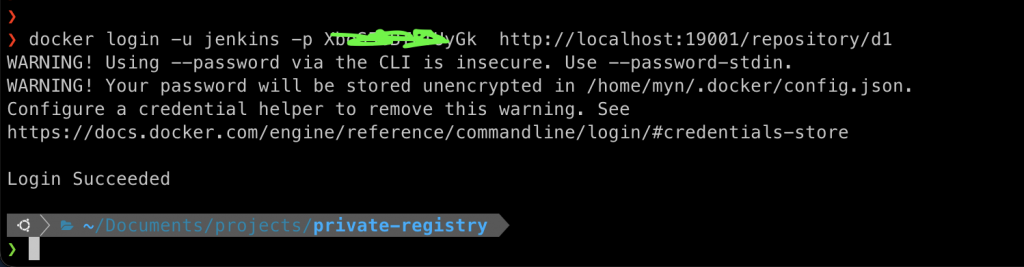
Login to the docker registry
After creating the login account, you can use it to log in to the registry in the command line:
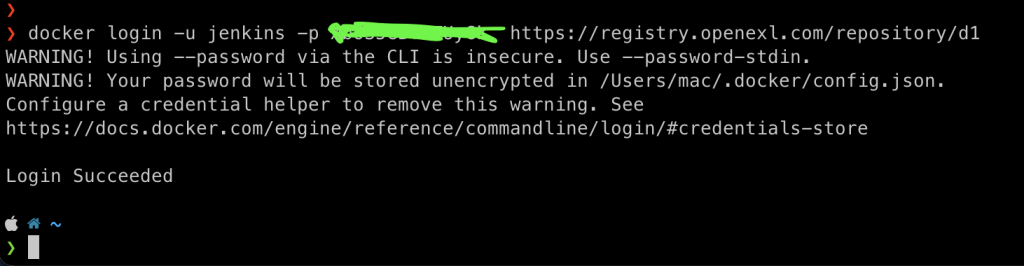
Using Caddy to have SSL address
If you need to access the registry from the Internet, it’s best to configure https. With the help of Caddy.
You only need to insert this section in your Caddyfile and restart caddy:
registry.openexl.com {
  reverse_proxy your_host:19001
}
In my case, I can now access the registry from the https URL:
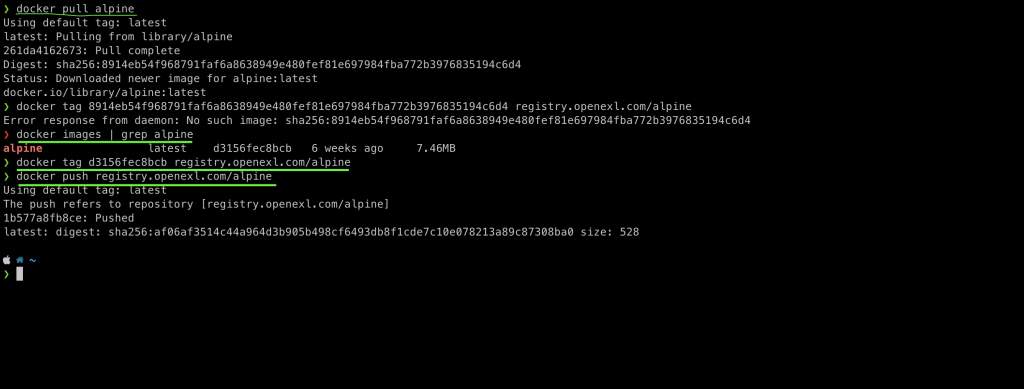
Pushing images to the registry
To push your images to the right registry, you need to tag them in a correct format.
For example, my registry is located at https://registry.openexl.com, the images must be prefixed with registry.openexl.com
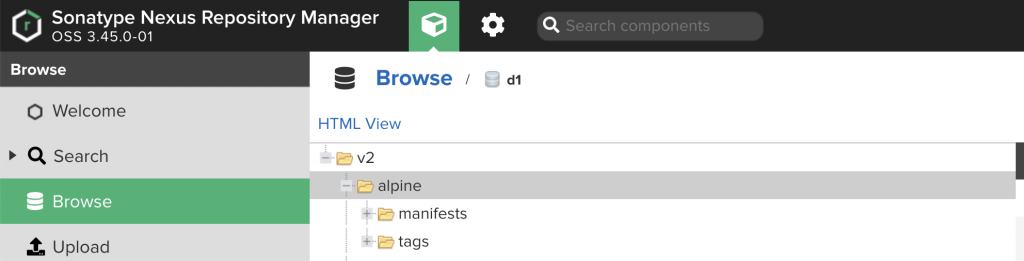
Let’s tag an alpine image and push to the registry for example.
docker pull alpine
# d3156fec8bcb is the alpine image ID I pulled from docker.io registry
docker tag d3156fec8bcb registry.openexl.com/alpine
docker push registry.openexl.com/alpine
Conclusion
In this post, I showed you how to create a docker registry using Nexus OSS. This is an ideal replacement for most tasks involving docker. I actually switched from Docker hub subscription to this due to recent problems of docker desktop on Mac (and I also have an Ubuntu computer running 24/7 so why not).

I build softwares that solve problems. I also love writing/documenting things I learn/want to learn.