Table of Contents
It’s quite simple to change hostname in WSL2.
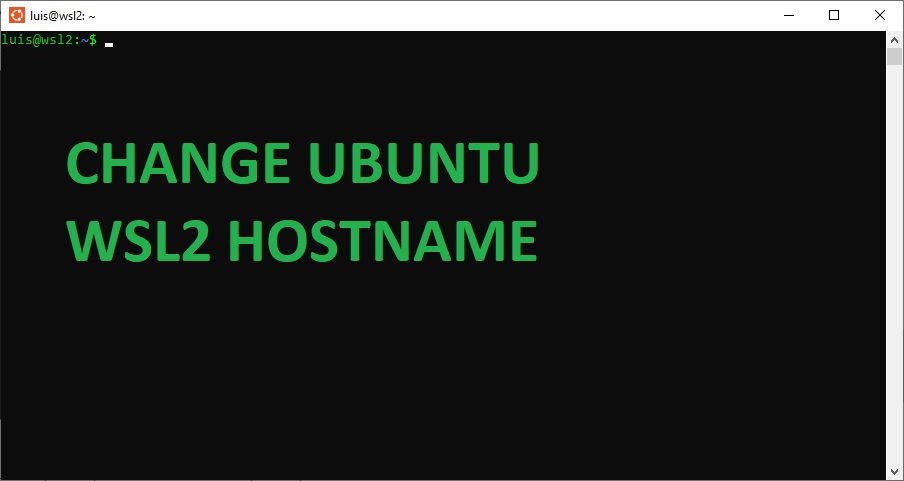
That means you can easily change the wsl2 part in this screenshot:
Most of the time changing the name in /etc/hostname is enough. However, to change wsl2 hostname permanently, you will need to do some more work.
Step 1: Disable network auto generating config
First open/create a new file called wsl.conf under /etc/
sudo vim /etc/wsl.conf
Then put the following config:
[network]
hostname = wsl2
generateHosts = false
Change the hostname to whatever you like. In this case, I use wsl2 as my hostname.
Save the file. You’re halfway there.
Change the hostname in /etc/hosts and /etc/hostname
Let’s open /etc/hosts
You will see something similar to this:
# This file was automatically generated by WSL. To stop automatic generation of this file, add the following entry to /etc/wsl.conf:
# [network]
# generateHosts = false
127.0.0.1       localhost
127.0.1.1      OLD_HOST_NAME.localdomain        OLD_HOST_NAME

# The following lines are desirable for IPv6 capable hosts
::1     ip6-localhost ip6-loopback
fe00::0 ip6-localnet
ff00::0 ip6-mcastprefix
ff02::1 ip6-allnodes
ff02::2 ip6-allrouters
The line you need to pay attention to is 5. Change OLD_HOST_NAME to your desired name. In my case, that would be wsl2:
# This file was automatically generated by WSL. To stop automatic generation of this file, add the following entry to /etc/wsl.conf:
# [network]
# generateHosts = false
127.0.0.1       localhost
127.0.1.1      wsl2.localdomain        wsl2

# The following lines are desirable for IPv6 capable hosts
::1     ip6-localhost ip6-loopback
fe00::0 ip6-localnet
ff00::0 ip6-mcastprefix
ff02::1 ip6-allnodes
ff02::2 ip6-allrouters
Save the file.
Next open /etc/hostname and update the old host name to your desired hostname.
Shutdown wsl
Now, close your ubuntu windows and open powershell:
wsl --shutdown
This will shutdown wsl.
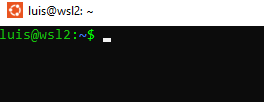
Now, you can open ubuntu and see the new hostname:
Conclusion
In this post, I’ve shown you how to change hostname permanently in ubuntu wsl2 on Windows.

I build softwares that solve problems. I also love writing/documenting things I learn/want to learn.
This should work for any linux distro