Table of Contents
Overview
In this post, I will show you how you can quickly test the email-sending function of your application using MailHog.
The application I’m demonstrating is a Spring Boot web app. However, you can use the code in almost all applications.
Let’s get started.
Setup MailHog
MailHog is a fantastic tool for developers to test the email-sending function. Basically, it starts an SMTP server at localhost. You can use mailhog configuration to simulate sending emails and actually see the email in a simple webmail application.
To create a MailHog instance, you can use the following docker-compose file:
version: '3.8'

services:
  mailhog:
    image: mailhog/mailhog:v1.0.1
    container_name: mailhog
    ports:
      - "1025:1025"
      - "8025:8025"
Then run docker-compose up
This will setup a MailHog container and expose ports 1025 and 8025. You use port 1025 to configure SMTP and port 8025 to access to the webmail client on localhost.
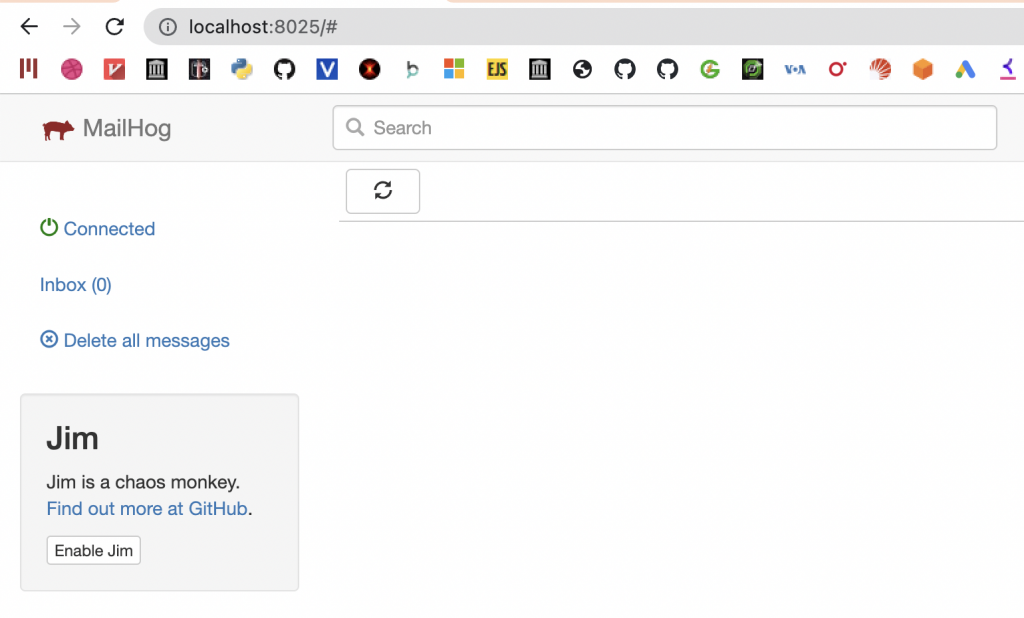
At startup, there is no mail in the webmail client:
Now let’s create some code to send emails to this server.
Remember, by default, there is no authentication on MailHog (super suitable for testing).
Send mail using Spring mail
There are many libraries you can use to send emails in a Java application. Since I use Spring, I will take advantage of the solution that Spring provides: spring-mail.
Here is the dependencies in the Maven pom:
    <dependencies>
        <dependency>
            <groupId>org.springframework.boot</groupId>
            <artifactId>spring-boot-starter-mail</artifactId>
        </dependency>
        <dependency>
            <groupId>org.springframework.boot</groupId>
            <artifactId>spring-boot-starter-web</artifactId>
        </dependency>

        <dependency>
            <groupId>org.springframework.boot</groupId>
            <artifactId>spring-boot-starter-test</artifactId>
            <scope>test</scope>
        </dependency>
    </dependencies>
Let’s create a controller so you can trigger the mail sending function from the browser:
package com.datmt.spring_mail;

import org.springframework.mail.javamail.JavaMailSenderImpl;
import org.springframework.mail.javamail.MimeMessageHelper;
import org.springframework.web.bind.annotation.GetMapping;
import org.springframework.web.bind.annotation.RestController;

import javax.mail.MessagingException;
import javax.mail.internet.InternetAddress;
import javax.mail.internet.MimeMessage;
import java.io.UnsupportedEncodingException;

@RestController
public class SendMailController {

    @GetMapping("/send-mail")
    public void send() throws MessagingException, UnsupportedEncodingException {

        JavaMailSenderImpl sender = new JavaMailSenderImpl();
        sender.setHost("192.168.1.95");
        sender.setPort(1025);

        MimeMessage message = sender.createMimeMessage();
        MimeMessageHelper helper = new MimeMessageHelper(message);
        helper.setFrom(new InternetAddress("[email protected]", "Datmt"));
        helper.setSubject("Hello, world!");
        helper.setTo("[email protected]");
        helper.setText("Thank you for ordering!");

        sender.send(message);
    }
}
The code is quite self-explanatory. However, there are some important lines you need to pay attention to:
- On line 20, that’s my local IP address, please change it to yours
- On line 21, that’s the SMTP port of MailHog. If you mapped ports differently in the docker-compose file, you need to update this port too.
- From line 25 to line 28, these are completely random values. You can put anything here.
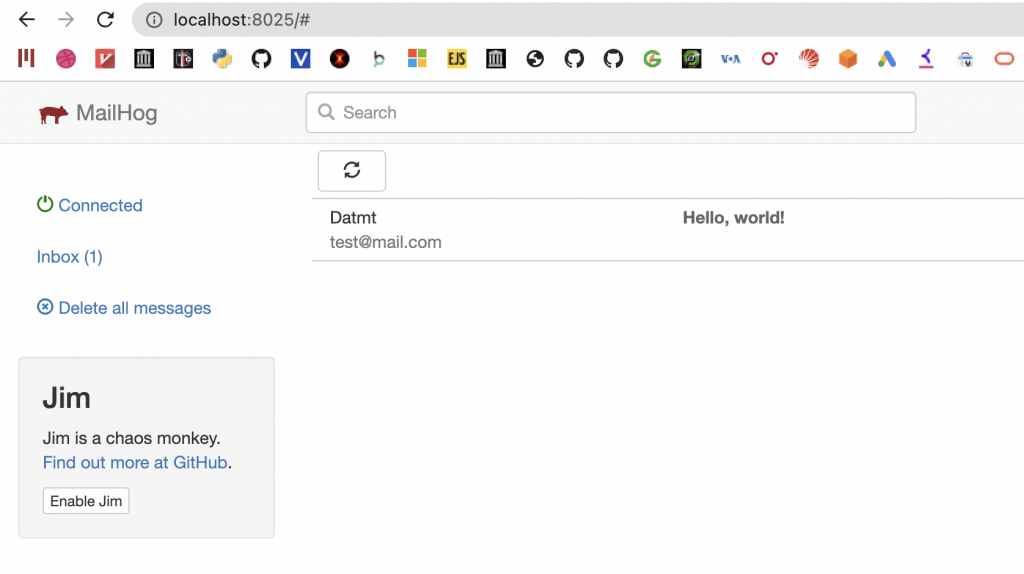
Now, if I send a GET request to then send-mail endpoint, I will get the email in MailHog webmail:
Conclusion
As you can see, it’s quite simple to set up a test SMTP server to check if your email-sending function is working properly. It’s a cheap, fast, and reliable solution.
As usual, the code for this post is available on GitHub

I build softwares that solve problems. I also love writing/documenting things I learn/want to learn.