Table of Contents
Overview
In this post, I’m going to show you how to create an Angular app and integrate it with Auth0. Why Auth0? It’s a service that lets us quickly handle user management. You can use other options (like keycloak) but Auth0 has a free plan that allows up to 7,000 monthly active users. That’s a generous offer I guess.
Create an Angular app
The first thing you want to do is to install Angular CLI. The official page has a thorough tutorial on that.
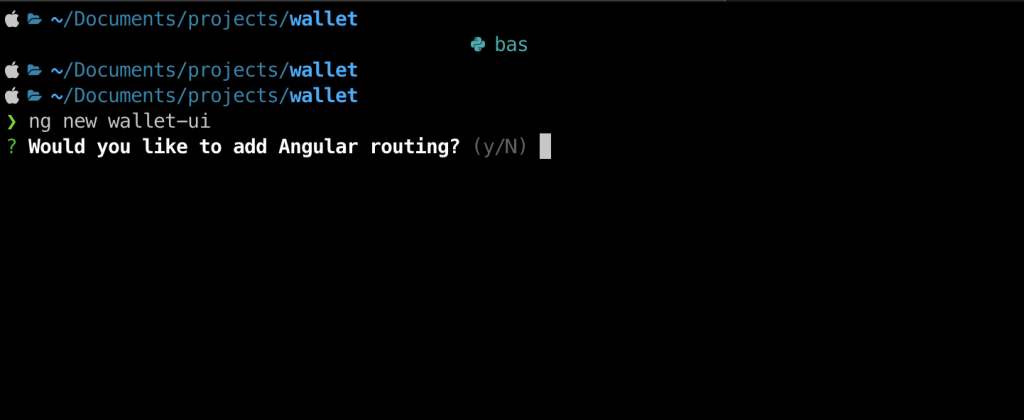
After installing Angular CLI, creating a new Angular app would be simple
ng new wallet-ui
Here, I’m creating a new application called wallet-ui. Make sure you select Angular routing.
After setting up the new app, I also want to have Angular material.
ng add @angular/material
That’s pretty much it for the Angular app setup. Now, let’s create an app with Auth0.
Create Auth0 Application
If you haven’t created an account at Auth0 (https://auth0.com), please go ahead and do so.
After that, you can log in and create your application.
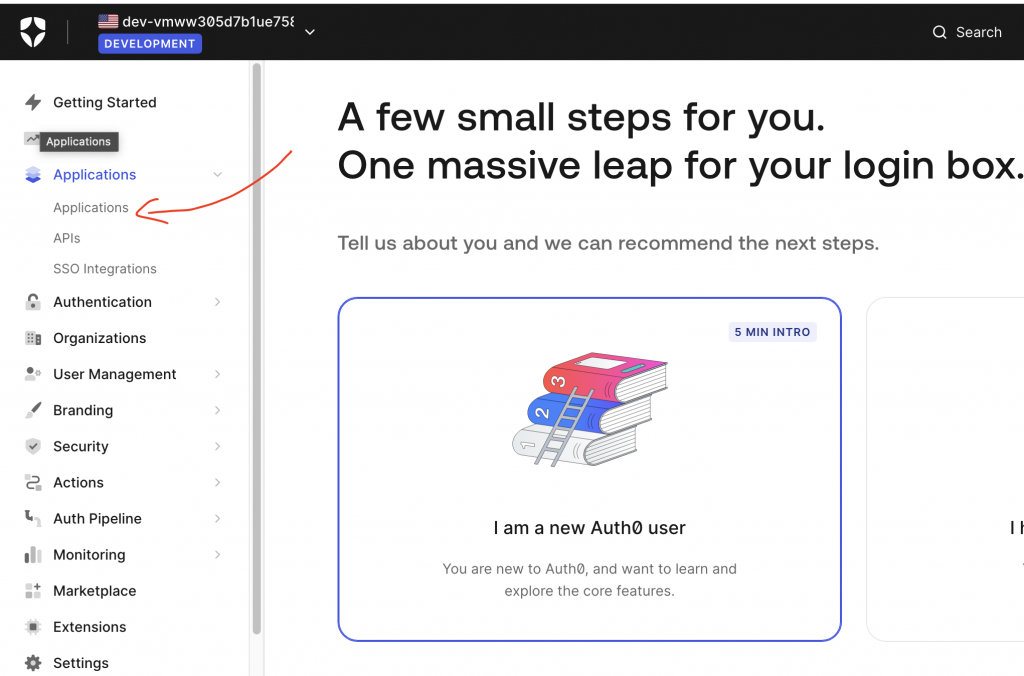
Next, click on Create Application button:
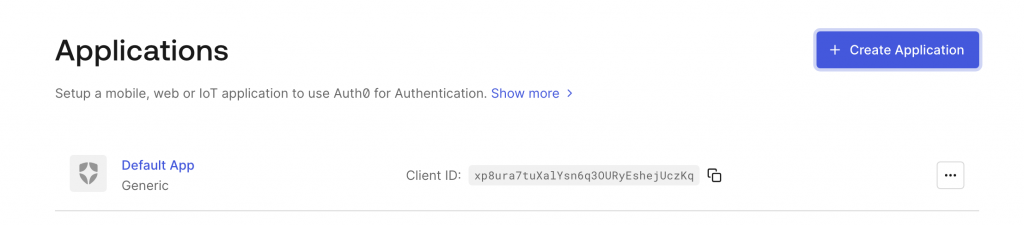
On the popup, select Single Page Web Application:

Then you can click Create to get the app details.
On the newly created app, go to the Settings tab and grab the domain and the client ID:
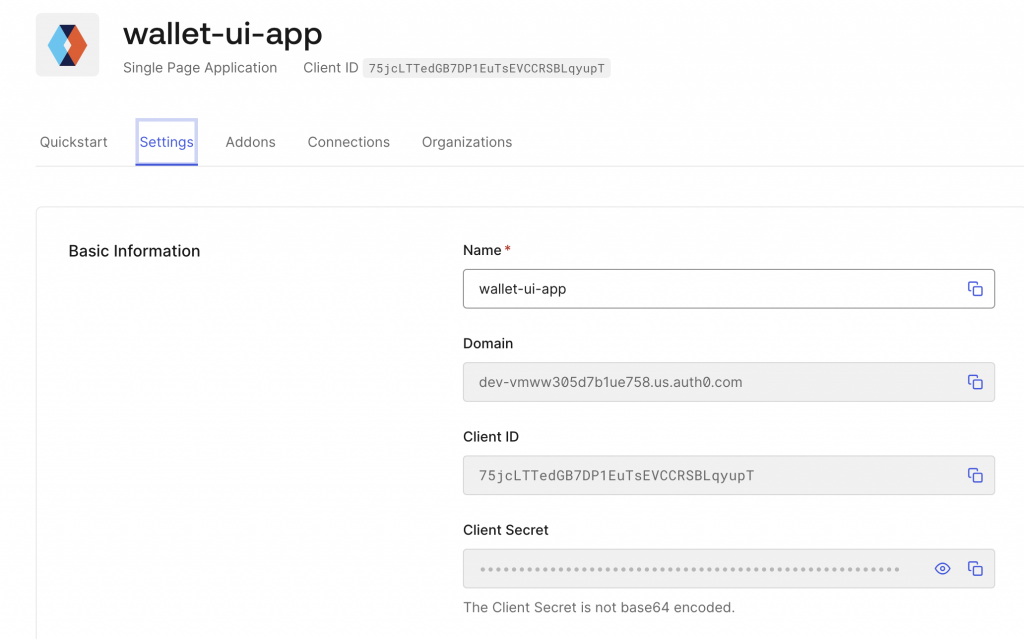
Now, let’s integrate these details into our Angular application.
Integrate Auth0 With Angular Application
Open the Angular application in your favorite editor. Open the root folder in your favorite terminal and install the necessary packages:
npm install @auth0/auth0-angular
Next, open app.module.ts, in the imports section, enter the following details:
    AuthModule.forRoot({
      domain: 'YOUR_DOMAIN_FROM_AUTH0',
      clientId: 'YOUR_AUTH0_CLIENT_ID',
      authorizationParams: {
        redirect_uri: window.location.origin,
        audience: 'https://YOUR_DOMAIN_FROM_AUTH0/api/v2/',
        scope: 'read:current_user',

      },
      httpInterceptor: {
        allowedList: [
          {
            // Match any request that starts 'https://{yourDomain}/api/v2/' (note the asterisk)
            uri: 'http://localhost:9292/*',
            tokenOptions: {
              authorizationParams: {
                // The attached token should target this audience
                audience: 'https://YOUR_DOMAIN_FROM_AUTH0/api/v2/',
                // The attached token should have these scopes
                scope: 'read:current_user'
              }
            }
          }
        ]
      }
    }),
Make sure you replace the details that match your Auth0 settings.
Pay attention to line 14: that’s the backend API (Spring Boot) we are going to develop next. These settings allow the interceptor to attach the access token only when connecting to the backend API.
In addition, in the providers section, enter this:
    {
      provide: HTTP_INTERCEPTORS,
      useClass: AuthHttpInterceptor,
      multi: true
    },
This settings register an interceptor that attach the bearer token when talking to the API.
So, the whole app.module.ts file will look like this:
import {NgModule} from '@angular/core';
import {BrowserModule} from '@angular/platform-browser';

import {AppRoutingModule} from './app-routing.module';
import {AppComponent} from './app.component';
import {AuthHttpInterceptor, AuthModule} from "@auth0/auth0-angular";
import {HTTP_INTERCEPTORS, HttpClientModule} from "@angular/common/http";

@NgModule({
  declarations: [
    AppComponent
  ],
  imports: [
    BrowserModule,
    HttpClientModule,
    AuthModule.forRoot({
      domain: 'dev-vmww305d7b1ue758.us.auth0.com',
      clientId: 'iSlZhb14yAU7hQEKgZaYXDA22v4YChOr',
      authorizationParams: {
        redirect_uri: window.location.origin,
        audience: 'https://dev-vmww305d7b1ue758.us.auth0.com/api/v2/',
        scope: 'read:current_user',

      },
      httpInterceptor: {
        allowedList: [
          {
            // Match any request that starts 'https://{yourDomain}/api/v2/' (note the asterisk)
            uri: 'http://localhost:9292/*',
            tokenOptions: {
              authorizationParams: {
                // The attached token should target this audience
                audience: 'https://dev-vmww305d7b1ue758.us.auth0.com/api/v2/',
                // The attached token should have these scopes
                scope: 'read:current_user'
              }
            }
          }
        ]
      }
    }),
    AppRoutingModule
  ],
  providers: [
    {
      provide: HTTP_INTERCEPTORS,
      useClass: AuthHttpInterceptor,
      multi: true
    },

  ],
  bootstrap: [AppComponent]
})
export class AppModule {
}
Test Angular Login With Auth0
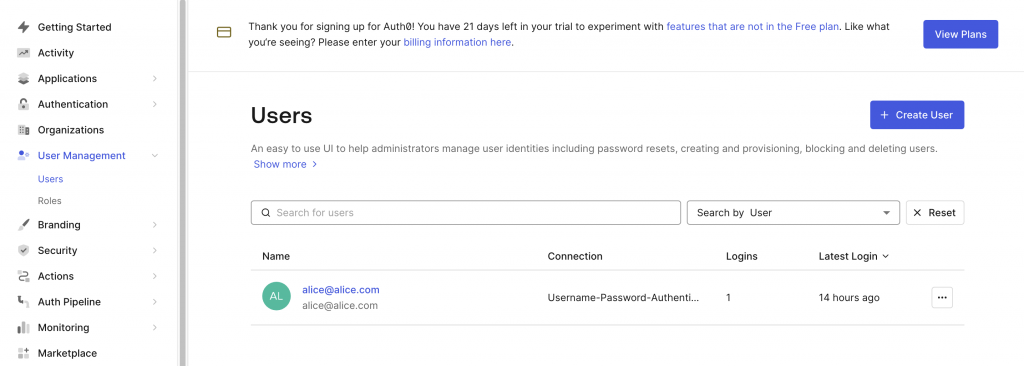
Before you can test the login flow, you need to create a user first. Let’s head to User Management and click on Create User
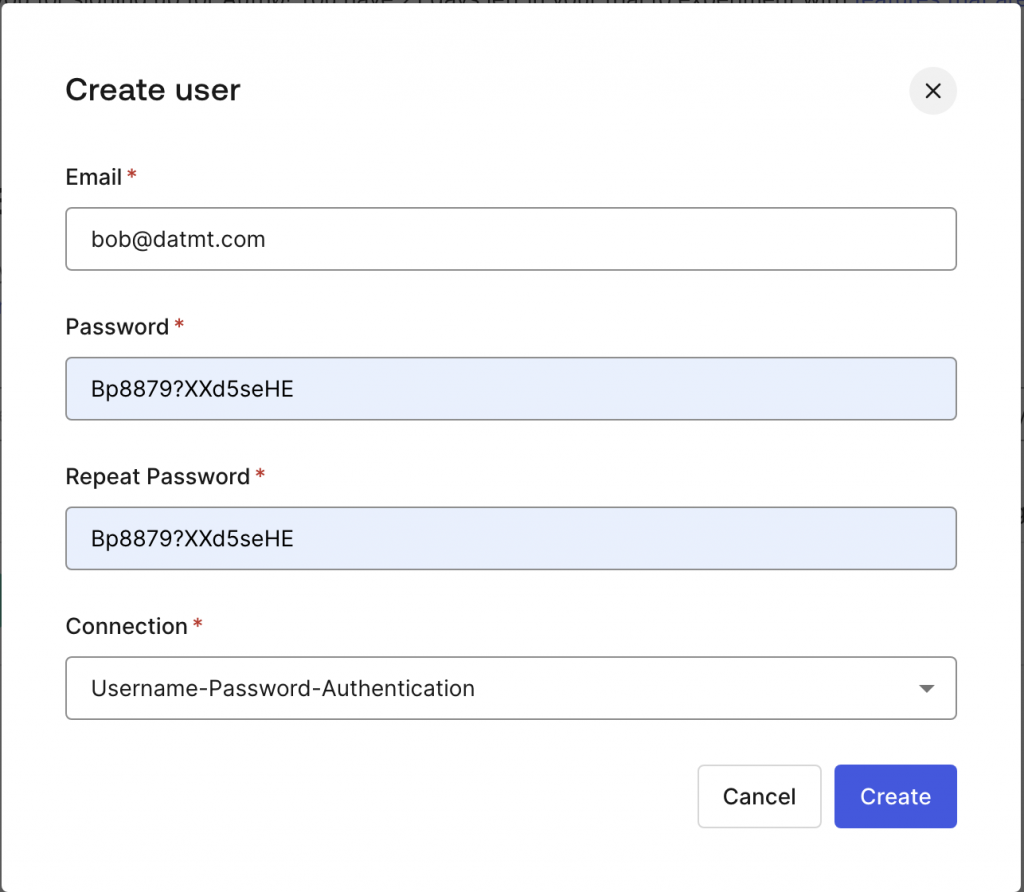
Enter the details for your user and create:
Now, go back to the Angular application and create a login button:
<button mat-flat-button color="primary" *ngIf="!(isAuthenticated() | async); else loggedIn" (click)="login()">Login
</button>

<ng-template #loggedIn>
  <h1>You are logged in</h1>
  <button mat-flat-button color="primary" (click)="logout()">Logout</button>
</ng-template>
The login, logout and isAuthenticated functions are declared in the app.component.ts
  constructor(
    private authService: AuthService,
  ) {
  }

  login() {
    this.authService.loginWithRedirect();
  }

  logout() {
    this.authService.logout();
  }

  isAuthenticated() {
    return this.authService.isAuthenticated$;
  }
Now we have a button:
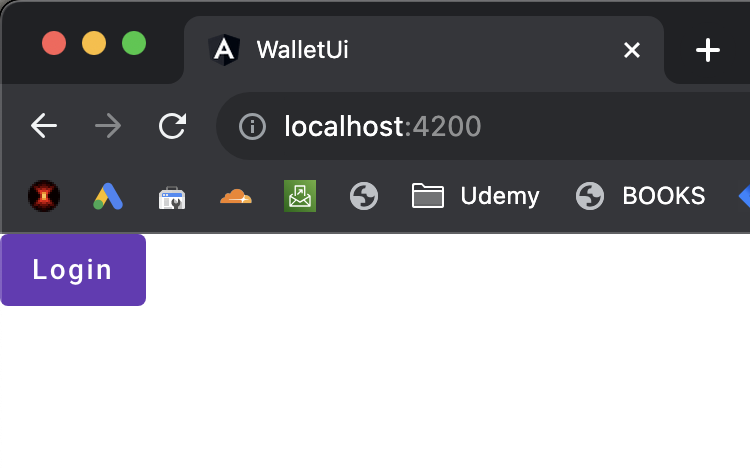
Click on that would prompt you login to your account from Auth0. Enter the details and you should be redirected to the app.
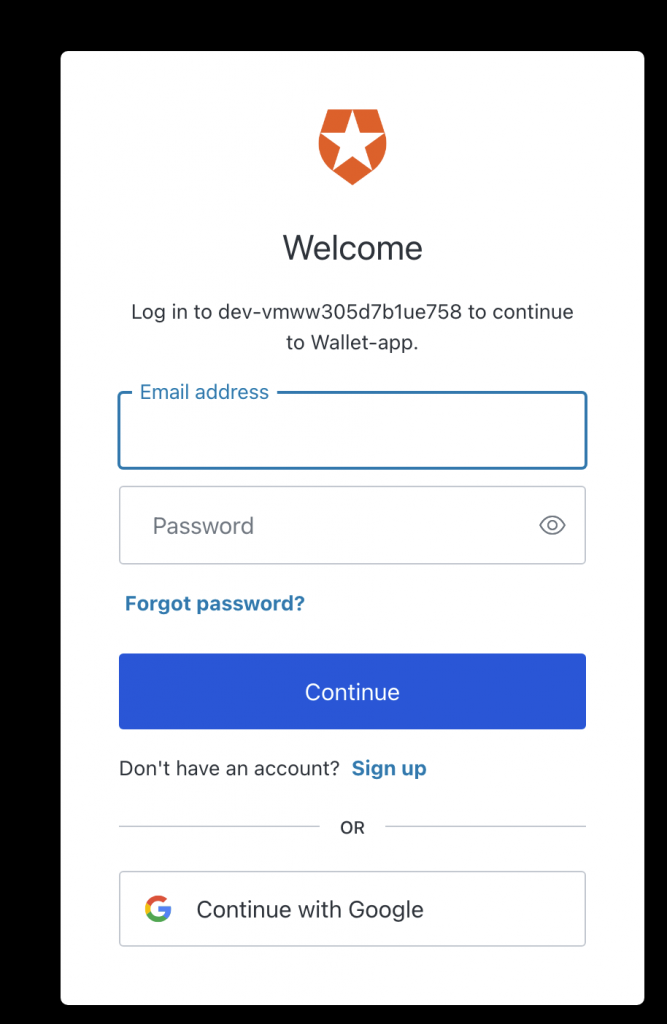
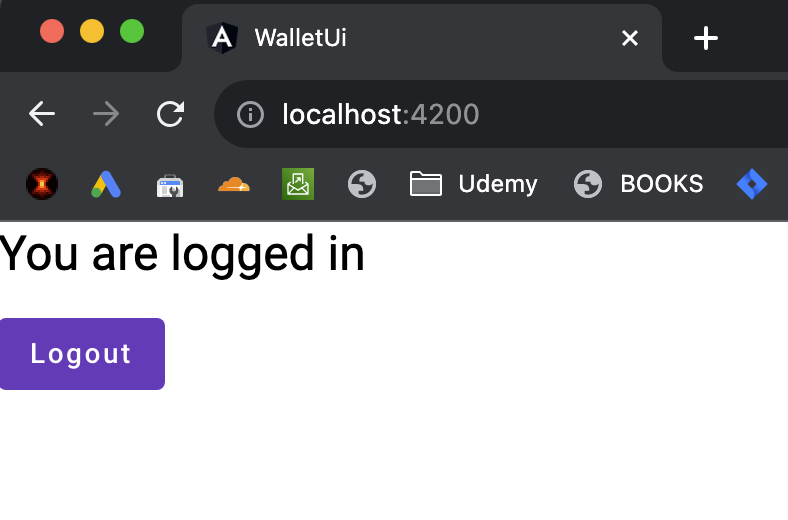
If you enter the details correctly, you are back to the Angular application:
Conclusion
Phew! That’s a lot for the first post of the series. Now we have a functional Angular application that integrates with Auth0. By using Auth0, we delegate a quite complex task (user management) to an external service. In the next post, we are going to create the backend API using Spring Boot and also integrate the Spring Boot API with Auth0.

I build softwares that solve problems. I also love writing/documenting things I learn/want to learn.